What You’ll Need
- High-value treats (small, soft, pea-sized pieces)
- A quiet training area with minimal distractions
- 5–10 minutes per session
- Patience and a positive, encouraging attitude
Why Teaching Sit Matters
“Sit” is often called the “please” of dog training — it’s a foundational behavior that opens the door to countless other commands and real-world applications. When your dog knows how to sit on cue, you have an instant way to manage their behavior in everyday situations: before crossing the street, when greeting guests, during mealtimes, or when encountering distractions on walks.
Beyond convenience, teaching sit provides important safety benefits. A dog in a sitting position is physically restrained from jumping, lunging, or bolting. It’s also a calming behavior that helps anxious or excited dogs settle. For puppies and newly adopted dogs, mastering sit builds their confidence and strengthens your bond through positive interaction. The American Kennel Club considers sit one of the five essential commands every dog should know.
Step-by-Step: How to Teach Sit
Step 1: Get the Behavior
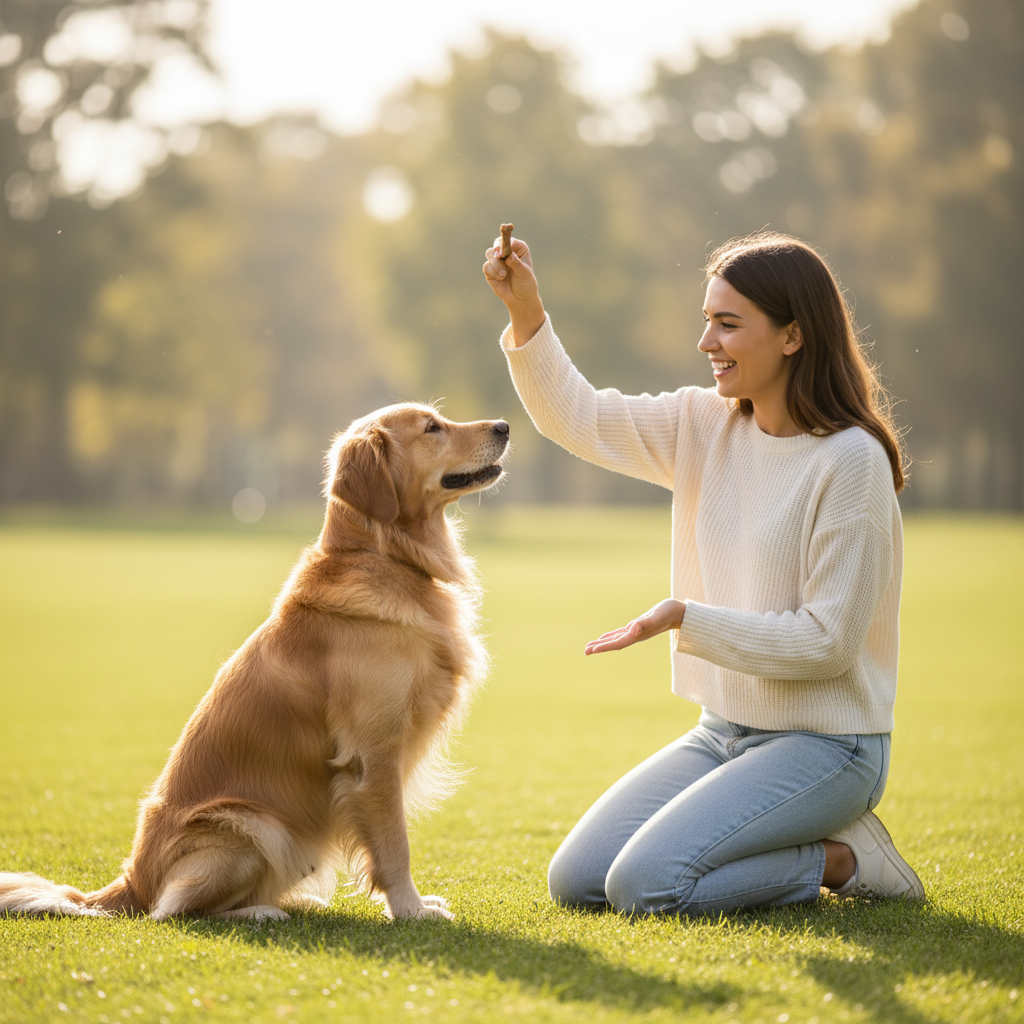
Start with your dog standing in front of you. Hold a treat at your dog’s nose level, then slowly move your hand up and slightly back toward their ears. Most dogs will naturally follow the treat with their nose, causing their head to tilt up and their rear to lower toward the ground. The moment their hindquarters touch the floor, say “Yes!” (or click if using a clicker) and immediately give them the treat.
If your dog backs up instead of sitting, try practicing near a wall or corner so they can’t step backward. You can also try lowering the treat more slowly or starting with your dog in a different position. Some dogs respond better if you start with them on a slightly elevated surface like a low platform or step.
Step 2: Add the Cue
Once your dog is consistently sitting when you lure them with the treat (usually after 10-15 repetitions), it’s time to add the verbal cue. Say “Sit” clearly and calmly, then lure with the treat. The verbal cue should come first, followed by the hand motion. Repeat this pairing multiple times until your dog begins to anticipate — you’ll notice them starting to sit as soon as they hear the word, before you even move your hand.
After several successful repetitions with the paired cue, try saying “Sit” without the hand lure. If your dog sits, celebrate enthusiastically with multiple treats and praise. If they don’t respond, go back to luring for a few more sessions before trying again without the hand motion.
Step 3: Practice and Proof
Once your dog reliably sits on verbal cue in your training area, begin practicing in gradually more challenging environments. Start in different rooms of your home, then move to your backyard, front porch, and eventually on walks. This process is called “proofing” — teaching your dog that “sit” means the same thing regardless of location or distractions.
Practice asking for sits in various positions: while you’re standing, sitting, or walking. Ask your dog to sit before meals, before going through doors, before getting in the car, and before playing with toys. The more contexts in which you practice, the more reliable the behavior becomes.
Training Tips
- Keep sessions short: 5–10 minutes maximum, 2-3 times per day for puppies; adult dogs can handle slightly longer sessions
- End on a success: Always finish training with a command your dog knows well, followed by rewards and praise
- Use variable rewards: Once your dog knows the command, don’t treat every single sit — randomize rewards to keep your dog engaged
- Reward position, not just the cue: If your dog sits voluntarily (offering the behavior), mark and reward it — this builds enthusiasm
- Avoid repeating the cue: Say “sit” once and wait. If your dog doesn’t respond, reset and try again — repeating desensitizes them to the word
Common Mistakes to Avoid
- Pushing your dog into position: Never force your dog’s rear down physically. This can create resistance and damage trust. Luring and patience always work better than force.
- Rewarding slowly: Timing is everything. The treat must come within 1-2 seconds of the behavior, or your dog won’t make the connection.
- Training when frustrated: If you’re having a bad day, skip the session. Dogs pick up on our emotions, and frustration creates a negative association with training.
- Expecting too much, too soon: Puppies and rescue dogs need time. If your dog isn’t getting it, make it easier rather than pushing harder.
Troubleshooting
My dog jumps up to get the treat: You’re holding the treat too high. Keep it at nose level and move it more slowly. If jumping persists, try rewarding for approximations — give a treat for any lowering of the rear, gradually requiring more until you get a full sit.
My dog walks away during training: The session is probably too long, or the treats aren’t valuable enough. Try higher-value rewards (chicken, cheese, freeze-dried liver) and shorter sessions. Also check that your training area is free from competing distractions.
My dog only sits when I have treats: You’ve moved too quickly to variable rewards, or your dog doesn’t truly understand the cue yet. Go back to rewarding every sit until the behavior is solid, then fade treats gradually while maintaining praise and life rewards (access to things your dog wants).
When to Move On
Your dog has mastered sit when they respond reliably to the verbal cue in at least five different locations with mild distractions present. They should sit on the first request at least 8 out of 10 times. Once you’ve reached this level of reliability, sit becomes a valuable tool for managing behavior and can serve as a foundation for more advanced training like stay, down, and heel.
The next logical command to teach is typically “stay” — having your dog hold their sitting position until released. Because your dog now understands the concept of earning rewards for specific body positions, adding duration and distance to the sit becomes much easier.